


10 Steps to Cutting Dovetails, Ranked
Plus, a tip or two for each one to help you improve

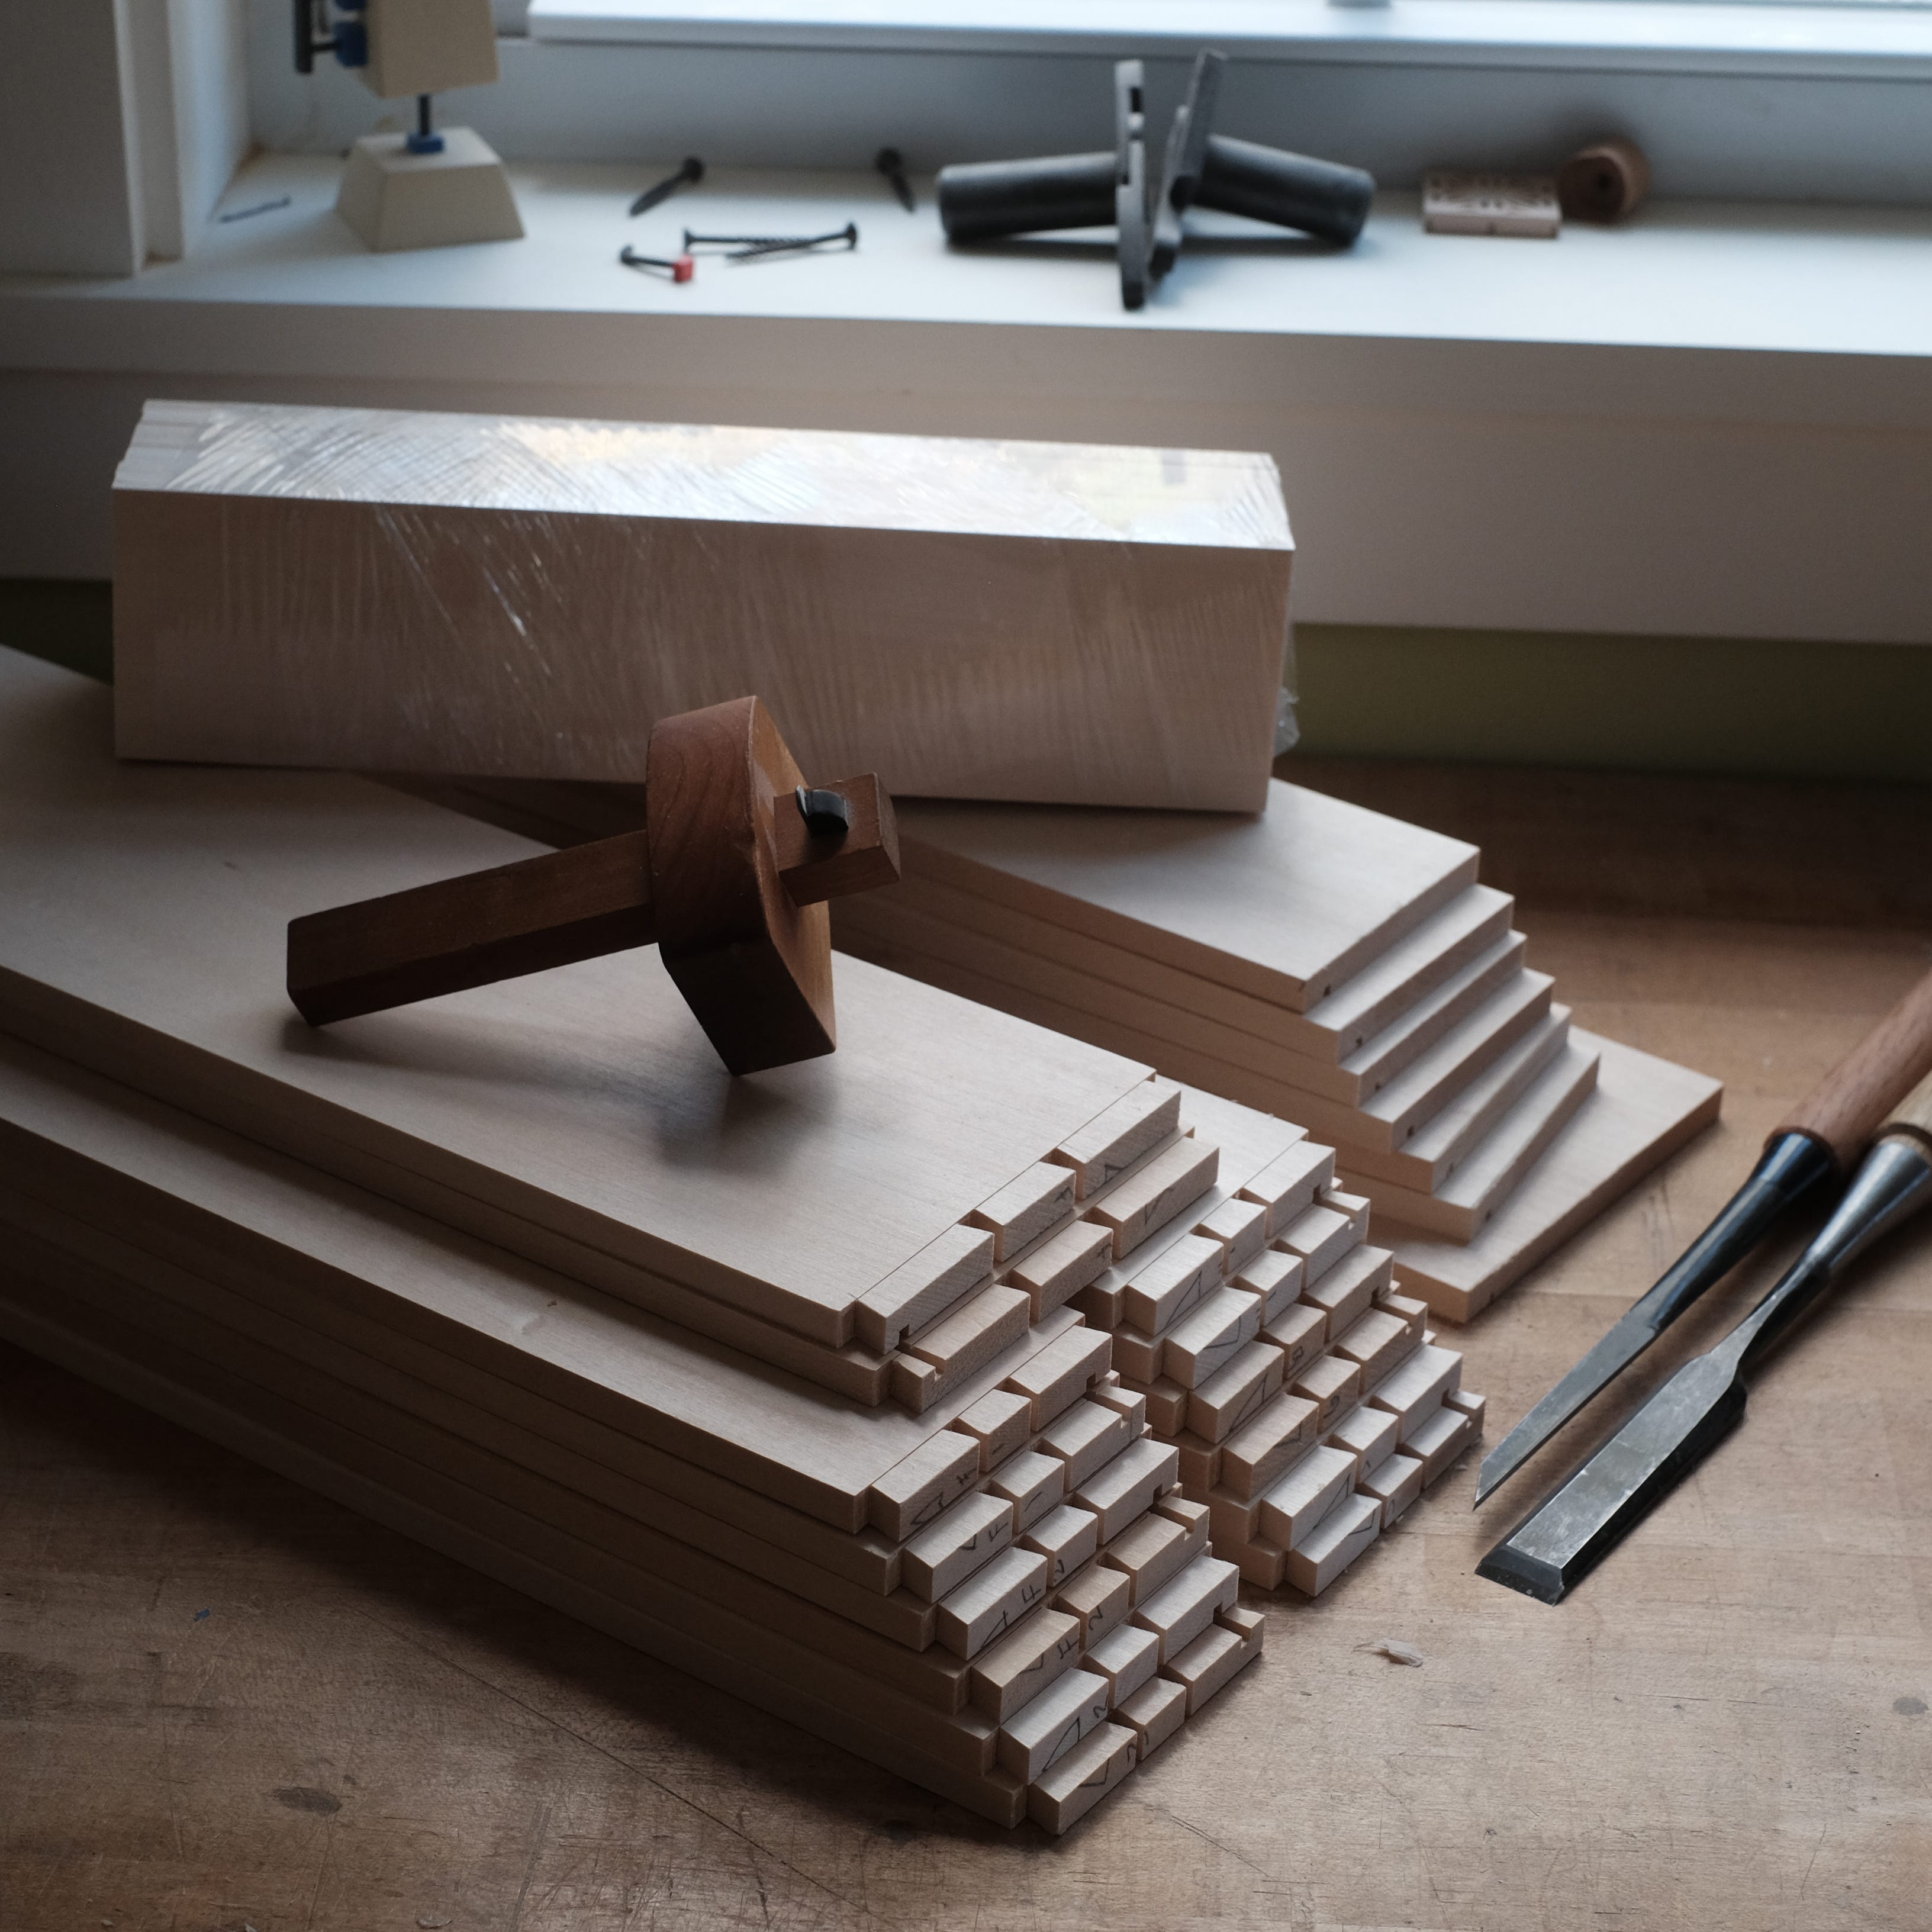
Lately, I have given quite a bit of thought to how I cut dovetails, because I am making four tables for a local custom furniture shop (they are flush with work right now, and I have a quiet Summer, so why not?). Cutting dovetails is not an isolated activity when you are making furniture. It’s one part of a complex whole, and what you do when cutting them affects the whole, and any changes to the whole can affect how you go about cutting dovetails. Anyway, as I see it there are 10 big steps for cutting a dovetail joint. Within each of them, of course, are many other steps necessary to accomplish the one overarching step.
Mill the parts and cut them to final dimensions
Prepare the inside face and reference edge for finishing
Mark the shoulders
Lay out the tails
Cut the tails
Transfer tails to the pin board
Cut the pins
Fit pins to tails
Glue joint together
Clean up outside of carcass, drawer, etc.
That’s a chronological listing of the steps, but I think a list of them in order of importance would be more helpful, and that’s what I’ll do today. As I work through the steps explaining their relative importance, I’ll also identify one or two things about each step that have helped me improve my joints.
Last week, I detailed the three most important things that helped me cut better dovetails. You can go back and read that post, if you missed it.
3 Ways to Improve Your Dovetails

There are a great many steps to making a single dovetail joint, from milling the parts so that they are “six square” to laying out the tails to cutting the pins to gluing the tail and pin boards together. Certainly, you could write a thorough explanation of the joint, explaining each step in granular detail, but such an account might lose the forest for the trees. Still, I think I’ll add a series of posts explaining how I cut dovetails to my big to-do list. Today, I am going to focus only on the three things that helped my move from “pretty good” dovetails to “damn, those are nice” dovetails.
One caveat before I get to it. I always speak from my experience in the shop, and what I learned from other furniture makers when I worked at Fine Woodworking. But my way is not the only good way to do things. If you have some good tips, please share them in the comments down at the bottom.
Keep reading with a 7-day free trial
Subscribe to A Furniture Maker's Life to keep reading this post and get 7 days of free access to the full post archives.